My colleague Tracey recently approached me about an event that Red Hat was involved in this past week, where were asked to help introduce 2nd – 5th grade students (7-11 years old) to a topic in engineering and/or technology. We were invited to take part in this event by leading 10-minute sessions to 15 groups of ~20 students each, and we picked the topic of computer graphics. Eek! 10 minutes is not a whole lot of time! The topic needed to involve technology, but also graphics (since that’s my expertise), and needed to have activities for the students to do to engage them and let them have some fun. Oh, and the students would not have access to computers during the talk! Hmm, what to do?
We decided to talk to the students about the difference between bitmap and vector computer graphics, and have them work with the concepts using graph paper and colored pencils we would hand out:

To do just that effectively in 10 minutes I think is a pretty ambitious goal. To share some more information about free & open source software and how the students can do these exercises on a computer, we prepared a couple of things:
- I put together a guide to free & open source software to hand to their teachers. It discusses software such as Gimp and Inkscape as well as resources like OpenClipArt and K12 Open Source, hopefully such that some of the teachers would be inspired to try to use some of these in the classroom with their students.
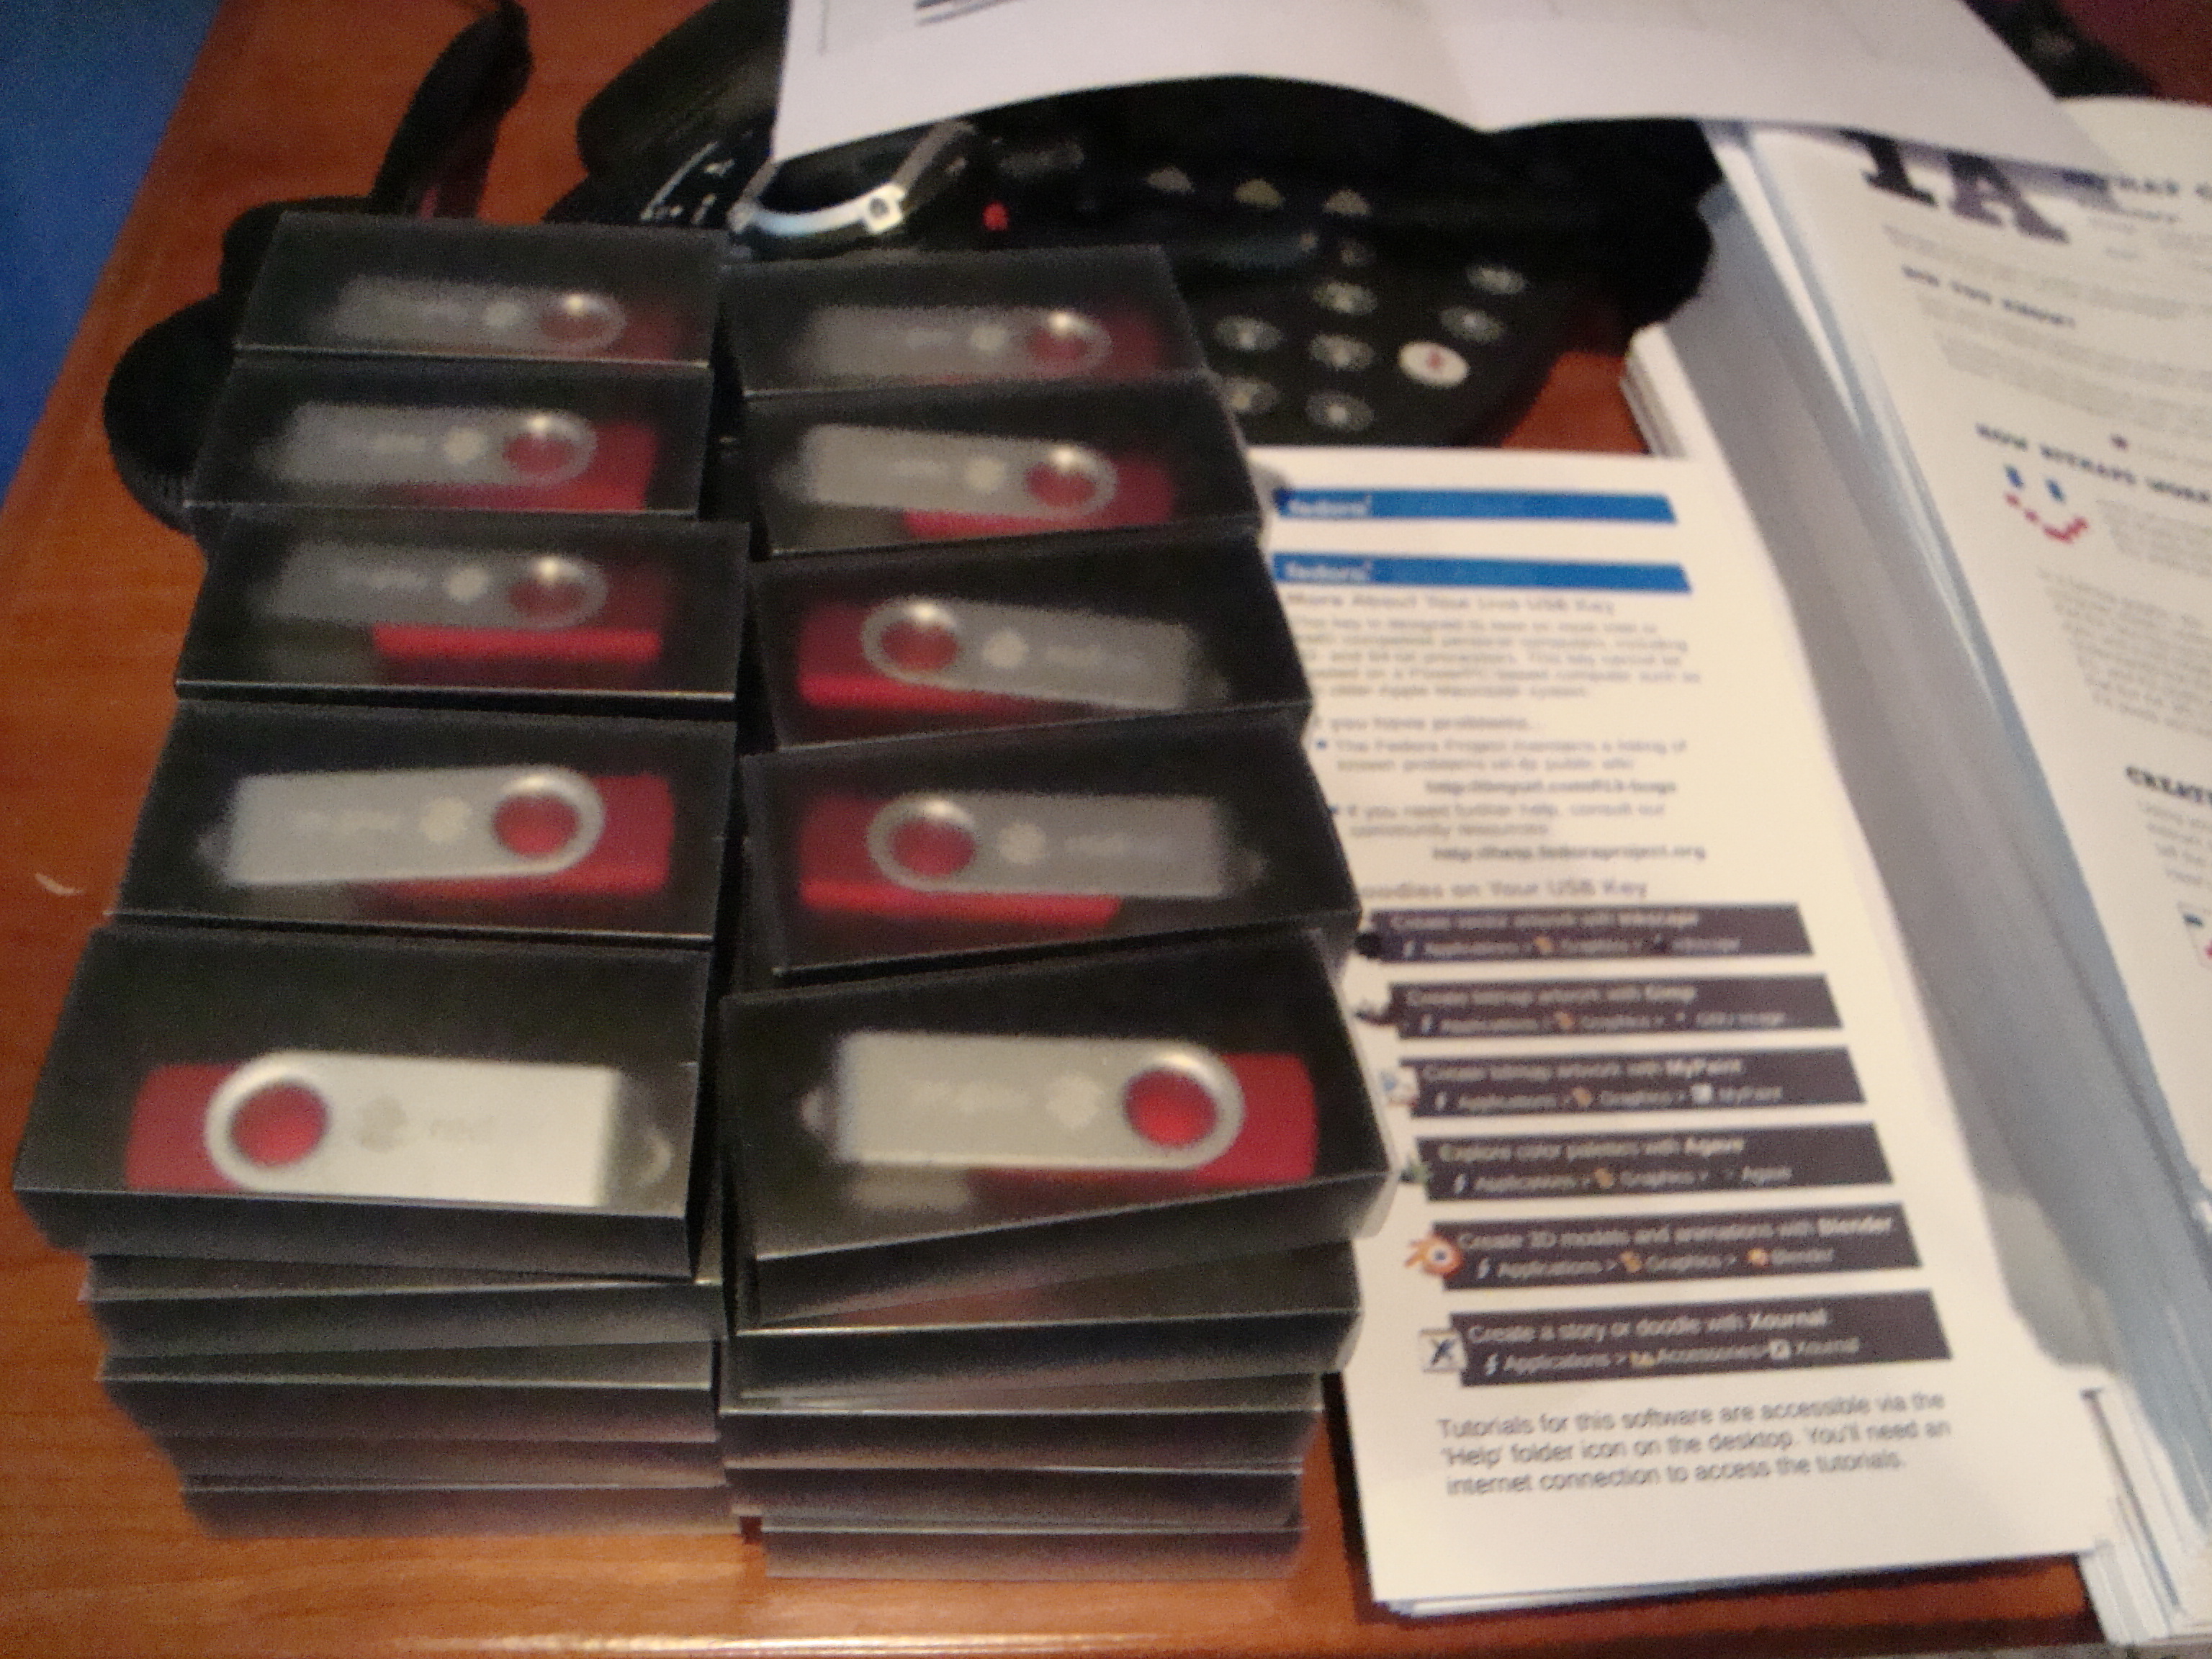
- My colleagues Jackie and Jesus Rodriguez of Spacewalk fame put together 50 live USB sticks of the Fedora Design Suite spin that Sebastian Dziallas put together (with some modifications.) We’ll be handing a couple of these out to each group of students to share with their classmates, hopefully also enabling the students to try out what they learn in free & open source software. They’ll be accompanied by a card explaining how to use live media.
So the actual teaching material doesn’t focus on free & open source concepts at all – I’m hoping they’re covered pretty well in the supplementary material I just listed out. The material I put together really just focuses on what a bitmap is, what a vector is, and the differences between each with activities to demonstrate. For example, here’s a little snap of the bitmap activity:

To ‘create bitmaps’, we provided the students coordinates for various squares on a grid and have them fill them in different colors, which I think is conceptually a pretty good approximation of what a bitmap is. To ‘create vectors’, we provided the students coordinates for points on the grid and then tell them to connect various points with a line, or draw a circle around a given point. The shift from filling in squares to identifying points (e.g., the labels on the grid shift from labeling squares to labeling lines of the grid) was confusing for some of the students, but the majority were able to make the shift okay. Out of the two exercises, the students found the bitmap exercises much easier than the vector ones.
Anyway, here’s the 4-page activity sheet set (with really big page numbers – I’m hoping that’ll make it easier for the students to find the sheet I’m talking about when I tell them to pull it out.):

I hope these materials are generally useful for teachers outside of the context of this event that Red Hat is participating in. To that end, we’ve licensed them under a Creative Commons Attribution 3.0 license. Please feel free to use these materials or remix them for your needs: the Inkscape source SVGs are available to this end.
We used these materials to teach 20 groups of students 15 times over in a single day during the event! Here’s the process Jackie and I followed:
- Set a student packet consisting of a clipboard, some sheets of graph paper, a ruler, a box of colored pencils, and the activity sheets at each student’s seat.
- Reset the computer to show a photo of a ladybug in Eye of GNOME. (Photo credit: Charles Barbin, GNU GPL license.)http://duffy.fedorapeople.org/edu/Photos/LadyBird_thumb.png.
- Invite the students into the classroom. Let them know they can sit anywhere they want, and yes, they get to keep all the materials we laid out for them (pretty much all of the students’ eyes lit up when they finally believed us – they couldn’t imagine getting everything, even the clipboard, just for them!)
- Ask the students, ‘Do you like artwork?’ (pretty much all hands went up, inevitably!) ‘How about computers?’ (All hands went up.) ‘We’re going to talk about two types of graphics, or artwork, on the computer today – bitmap and vector!
- Ask the students if they had ever taken a photo with a digital camera or downloaded a photo off the internet (all hands went up, of course.) Explain that digital photos are bitmap. Jackie, manning the laptop, would slowly zoom in on the ladybug photo until it was literally a screenful of squares.
- Ask the students if they know what the squares are (about half the groups had a student who knew they were called pixels.) Explain how with pixels, the computer stores information about the position and color of every pixel, and together it makes up an image like a patchwork quilt.
- Have the students do the first activity, the bitmap activity, on page 1B of the packet. Have them pick one of the faces, and try to follow the ‘code’ to make it appear in the grid.
- Next, Jackie brought up a picture of two monkeys side-by-side (Credit: Tango Project, Public Domain) and we asked the students if they could tell the difference. Just a couple of the groups could tell that the monkey on the left (the bitmap monkey) looked ‘blurrier.’ I told them, ‘One of these monkeys is bitmap, and one is vector, but they are the same monkey. How can you tell?’ and Jackie zoomed in so you could start seeing the bitmap monkey break down into pixels.
- I explained how with vector artwork, the computer isn’t limited to just little square pixels. Instead, the computer understands points, or nodes, and it draws lines between them so it’s not constrained by the squares.
- Next, with a flip chart and markers, I stepped the students through the example exercise on page 2B, the vector drawing of a house. I first drew all the nodes (asking the students a few times, ‘what are these called?’ until they replied ‘Nodes!’ 🙂 ) and showed them how parts of the roof went right through the grid. Then I drew around the triangular roof, making a stairstep roof, explaining, ‘if this roof were a bitmap roof, it would look like this!’
- Next, the we asked the students to pick one of the vector graphics to draw, following the instructions, drawing first the nodes, then connecting them.
- Finally, we explained that Red Hat is a software engineering company, and we make software by sharing code, just like we shared the ‘code’ to make the different graphics with them. I gave different students as well as the teachers some of the USB keys and quick start cards for using them, and asked them to share with each other just like we shared with them. The students promised to share, and class was over!
To keep the sharing going, we’ve shared all of this with you. 🙂

This work is licensed under a Creative Commons Attribution 3.0 Unported License.
This resource is sponsored by
![]()

Discussion
Comments are closed.